
Ingredients
As I previously mentioned, I purchased the Zombie Dirt ingredients kit from Northern Brewer, which included the following ingredients:
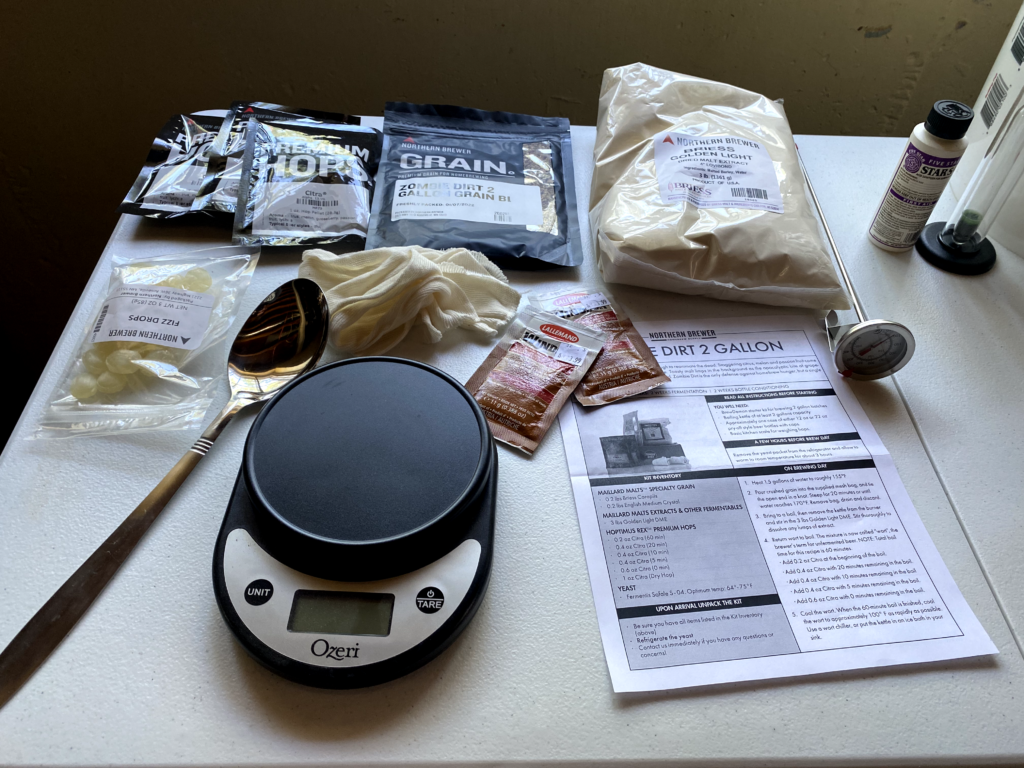
- Steeping grains
- Dried malt extract
- Hops
- Yeast
- Fizz Drop primers
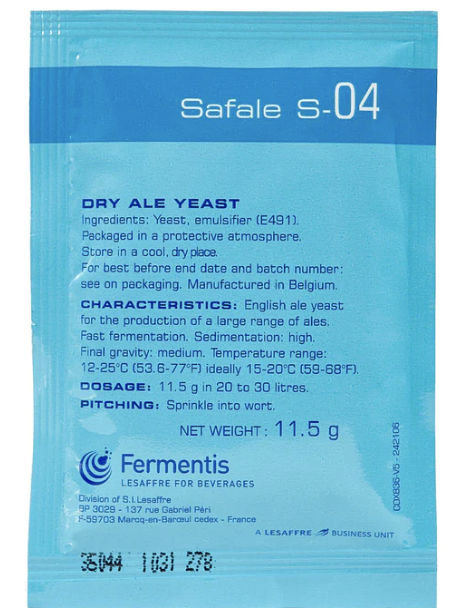
Of course, by the time brew day rolled around, the yeast I had previously placed in the fridge had disappeared. It’s still a mystery to me what happened to it, but thankfully the beer and wine store close nearby carried brewing yeast. I pulled the packaging and flavor profile chart from their website, and did my best to match it. The yeast that came with kit was an English Ale Dry Yeast, and the closest I could find at the store was a British Style Beer Yeast. Somewhat unsurprising given the state of the store’s refrigerator where the yeast was stored, a couple weeks after brewing I realized the replacement yeast I had purchased had an 05/2021 expiration date.
A couple of posts ago, I discussed the very basics process of brewing, which is:
- Sugar is extracted from the grain
- Hops are added for flavor
- Yeast turns the sugar into alcohol
The recipe was a combination of grain and malt extract. The malt extract is basically added sugar, in addition to any that is extracted from the grain. In fact, it’s my understanding that in recipes such as this one, the primary purpose of the grain is to add color and some flavor, with most of the sugar coming from the malt extract. Thankfully this kit included dried malt extract, instead of liquid malt extract (LME), which the previous kit had. The con of LME is that it is quite syrupy, and is difficult to get out of the container, as well as to clean up.
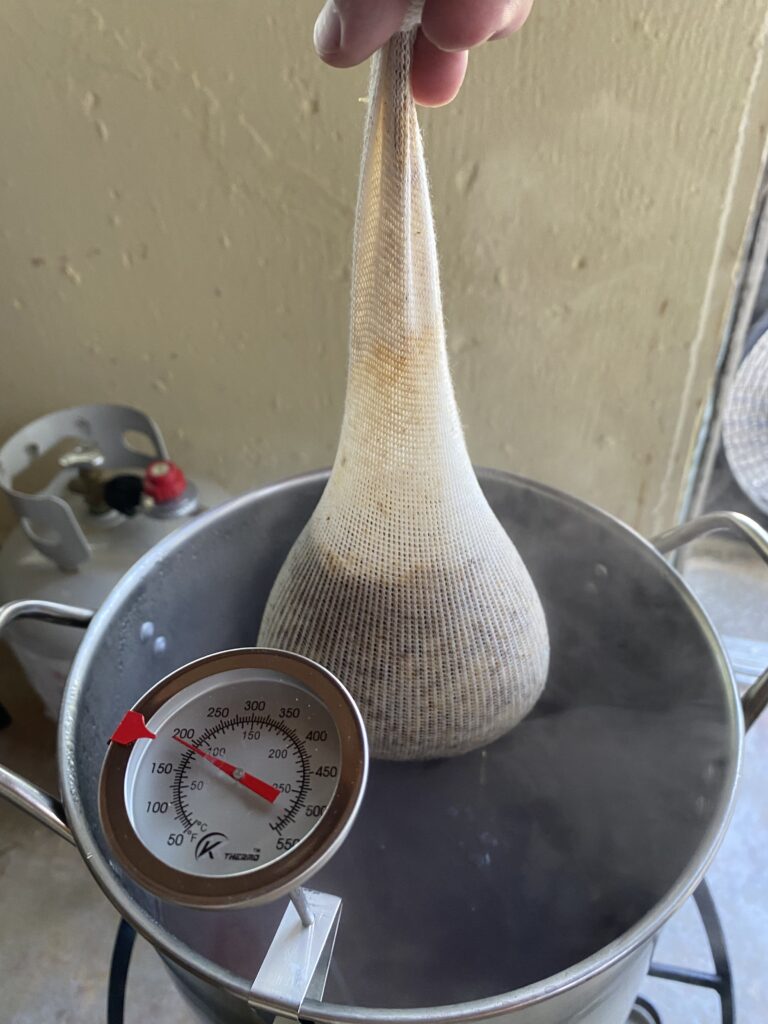
Steeping the Grain
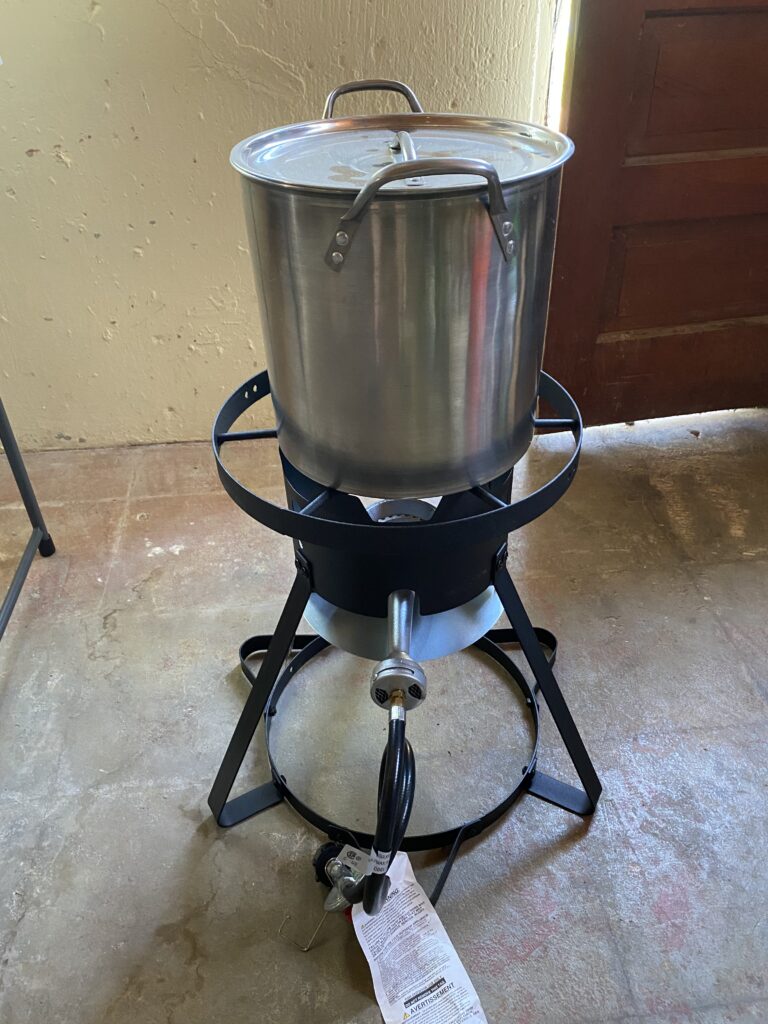
The first step was to heat some water and get the grains steeping. I used the large stock pot on the outdoor burner. And don’t worry, when it came time to use the burner, I had the door open, the burner was next to the doorway, with a fan pointed at it. I opted for distilled water, as I new it would be sterile and not have any funny flavors that could be found in my tap water.
The grains are put into a steeping bag, and then placed in the pot to steep for 20 minutes or until the water reaches 170 degrees F, whichever comes first. Bear in mind, this is below boiling, and it is important for getting the right flavors (otherwise you run the risk of tannin in the wort/beer). I did not have a working thermometer for the last failed brew I did, and I think it’s possible this contributed to the bad taste (for the above reason.)
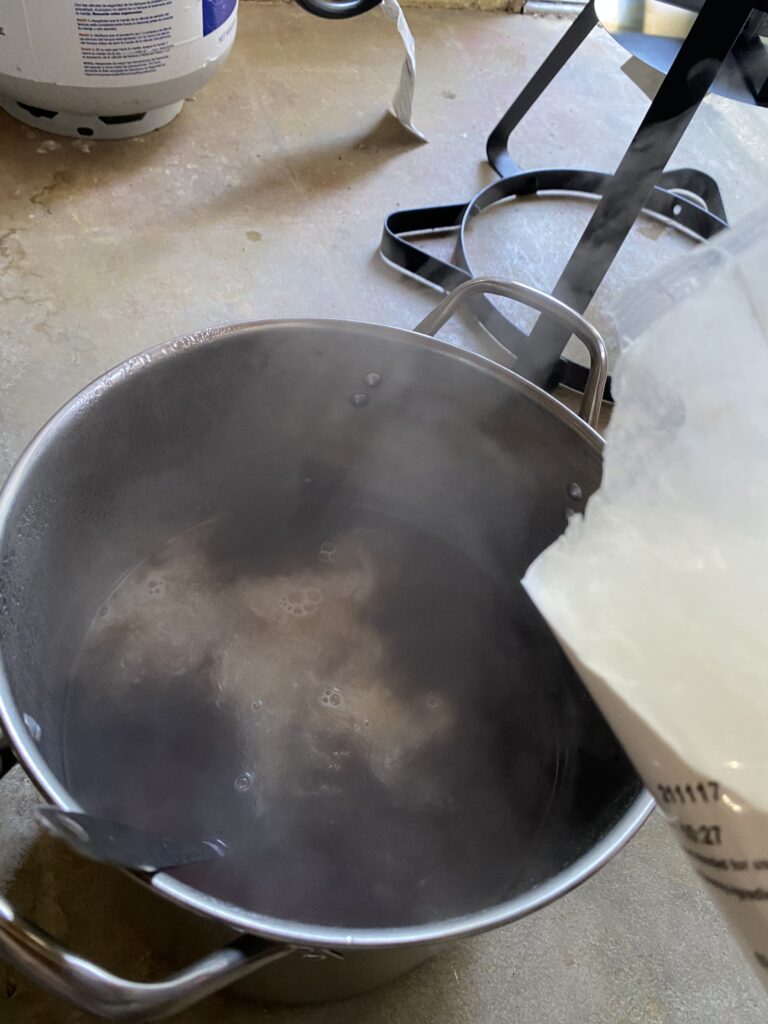
Adding the Malt Extract
After removing the grains, I let the wort reach a boil. At this point, it was time to add the dried malt extract. The downside to the DME was that it is clumpy. I think if I had added it slower, it would have mixed more easily, but at 3 pounds, there was a lot to mix in.
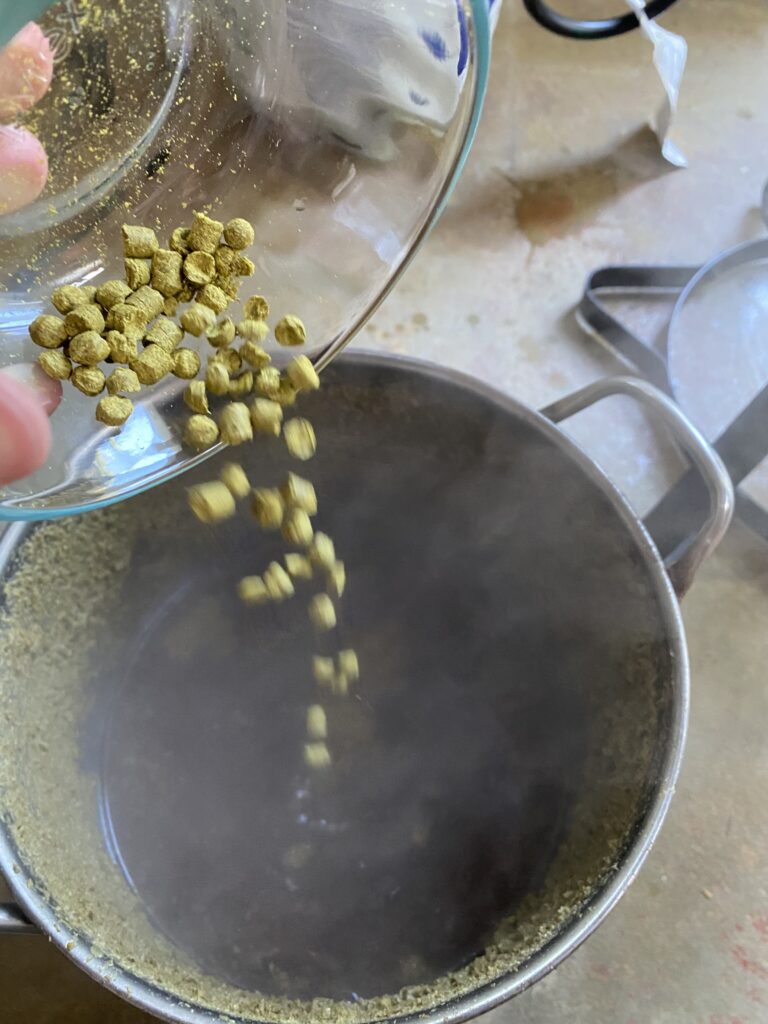
Hops!
Next was time for the hop regimen. Hops are added at different quantities at different time intervals. The reason for this is that the longer a hop pellet is in the boiling wort, the stronger hoppy flavor it will produce. So by varying the quantity and timing of the hop additions, you can vary the flavor. It was was somewhat difficult to keep the wort from foaming up and boiling over (which it did once), but over all it was a pretty smooth experience.
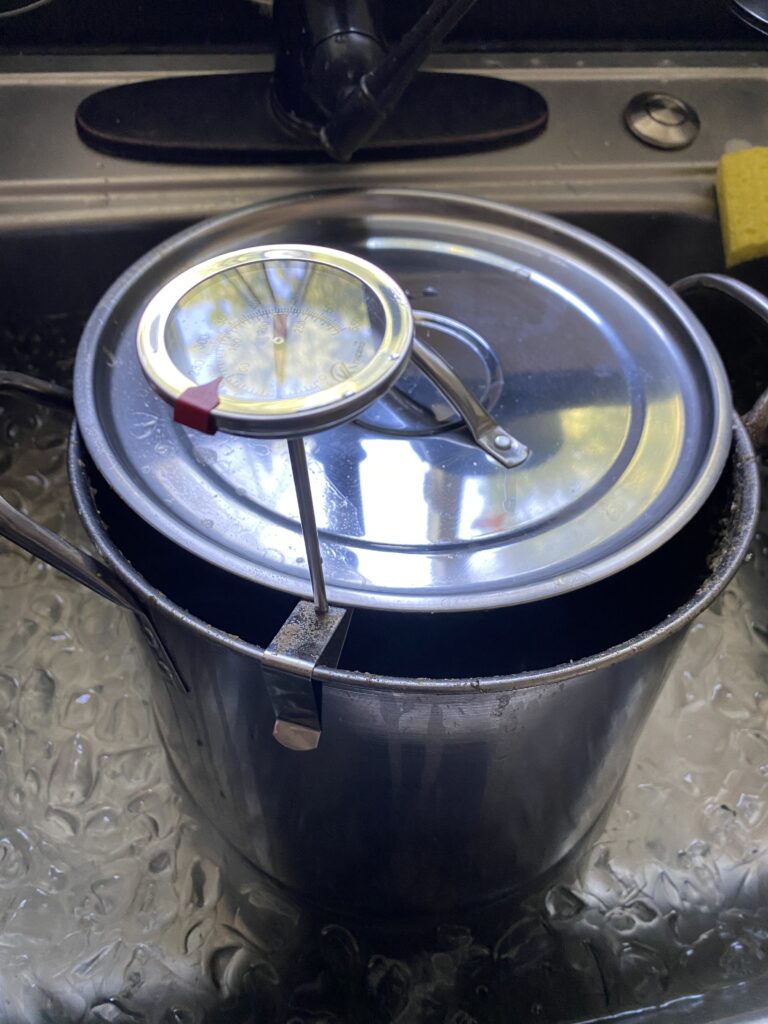
Wort Chilling
Once the 60 minute boil plus hop addition completed, I needed to rapidly cool the wort. Sometimes people incorrectly refer to this as cold crashing, but I will address that later. The purpose of rapidly cooling it is to attempt to freeze the flavor profile in place. If it was allowed to gradually cool, the hops would continue to steep. This is somewhat akin to steeping tea.
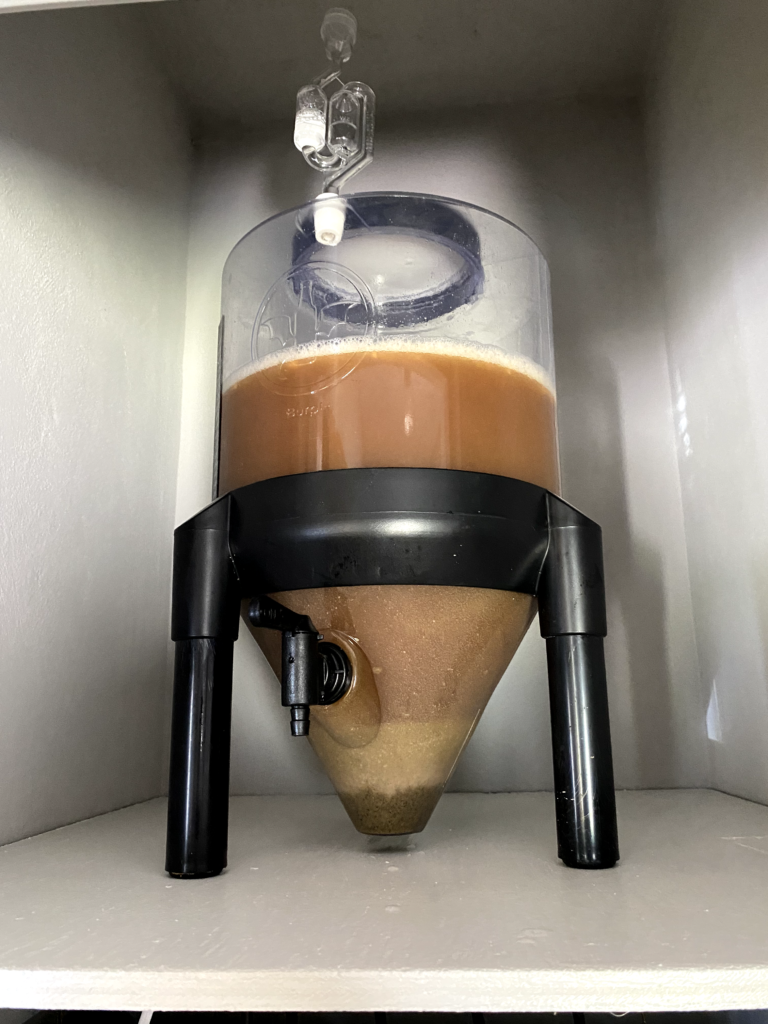
Transfer to the Fermenter & Adding Yeast
After it had cooled to around 100 degrees F, I transferred it to the fermenter. While it had been chilling, I mixed up a Starsan solution and thoroughly sanitized the fermenter. After pouring the wort into it, I added some distilled water to bring the volume up to two gallons. I then let it cool more until it dropped below 72 degrees F. If you add the yeast while it is still hot, the yeast will die, and without yeast, there is no fermentation. The directions said to aerate the wort, which I forgot to do, but I assume it was somewhat aerated as it was poured into the fermenter.
Next I added the yeast, and then sealed the fermenter. I decided to put it in my hall closet, where it could remain out of sunlight and at a relatively constant temperature. For my previous attempt, I placed it in the basement, which while out of the sun, might have been too cold for proper fermentation
Beforehand I was worried that the process would be hectic and stressful, but overall, I quite enjoyed the day. Of course it helped to be chugging away on some store bought brews, but moreover I was happy to have better equipment than last time. That, and some previous experience under my belt, gave me a good amount of optimism.
I’m excited to see where my home brewing takes me. Since I always value incremental improvement, I’m confident that over successive brews, my equipment and technique will improve. It will be fun to look back on the post in a couple of years and see how far I’ve come.
In the next post, I will discuss how the fermentation went, as well as the bottling process.